GL-01PC GAMING13 August 20265 MIN
Cable Management for a Gaming Desk
Cable management is not decoration. A tidy desk is easier to clean, move, and troubleshoot.
Unplug everything and start from an empty desk, which makes the routing obvious. Group cables by direction: power, display, and peripherals. Start with the resolution and frame rate you actually play at, because every part is chosen around that target.
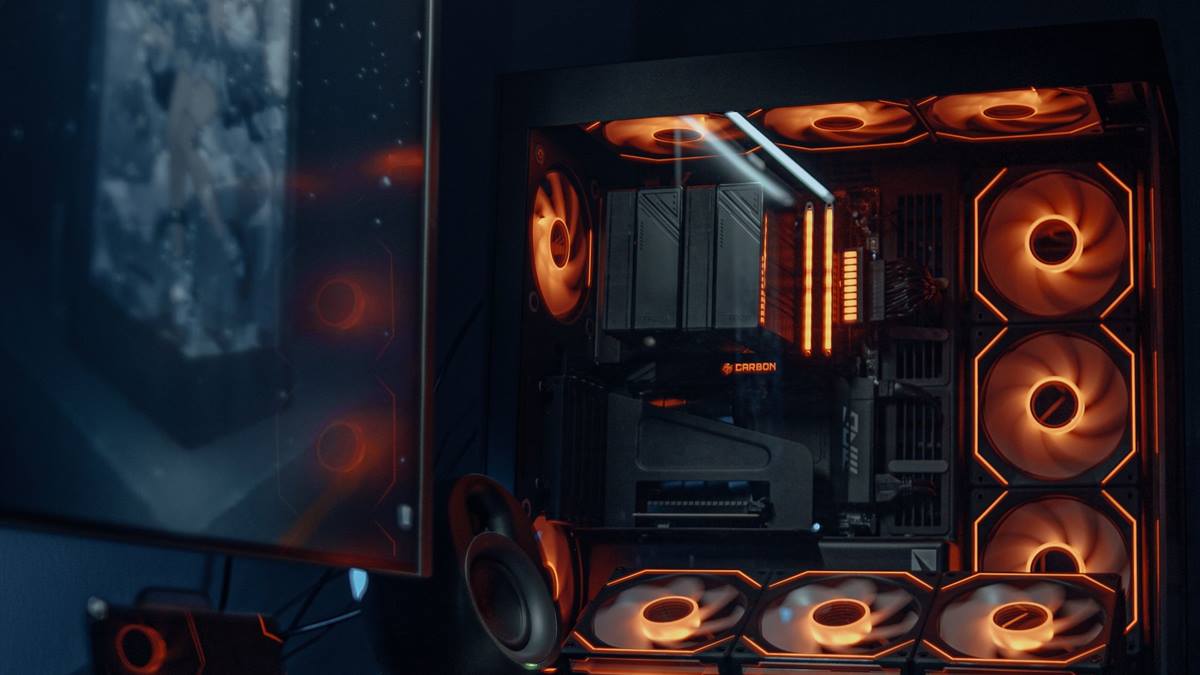
Match the hardware to the screen
Use a cable tray under the desk to keep the floor clear. Tie cables with velcro rather than zip ties, so changes are easy. A balanced machine beats one expensive component surrounded by bottlenecks.
Fix the part that limits you
Label both ends of each cable before routing them. Leave slack at the monitor and the PC, so the desk can move slightly. Heat and power delivery decide whether the advertised performance shows up after twenty minutes.
Before opening the case, note the current specification: processor, graphics card, memory, storage, and power supply. Most upgrade plans fail because one of those parts was assumed rather than checked. Run a benchmark you can repeat, write the result down, and change one component at a time. A cheaper part that removes the actual bottleneck is worth more than an expensive part that does not. Buy from a retailer with a clear return policy, and confirm that the part fits the case, the cooler, and the power connectors before the order ships.
Route power cables away from audio and network cables where possible. Benchmark one change at a time, so you know which part made the difference.
Check before you buy
- Start from an empty desk
- Use a cable tray
- Velcro, not zip ties
- Label both ends
Watch heat and power
Use a single power strip with a switch to turn the whole desk off. Mount the power strip under the desk, off the floor. Most upgrade disappointment comes from replacing the wrong component, not from buying a bad one.
Keep the cables behind the monitor rather than in front of the screen. Check the airflow around the PC after tidying, since a bundle can block vents.
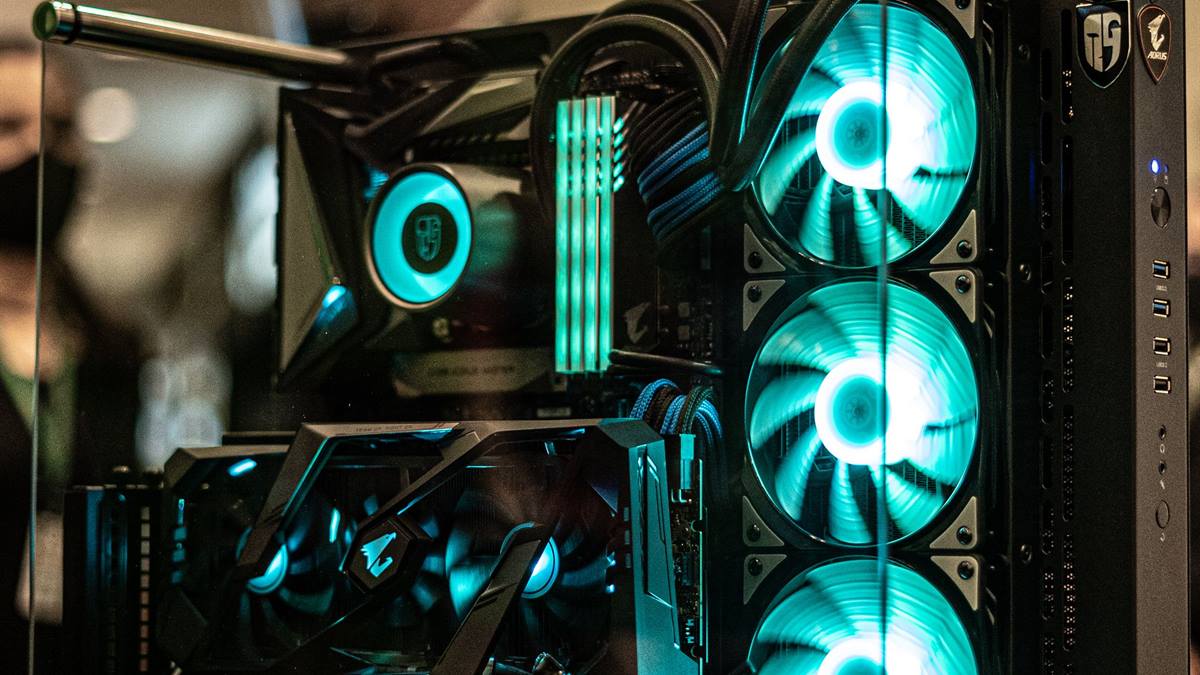
Measure before you upgrade
Avoid bundling cables so tightly that they strain the connectors. Take a photo before disconnecting, so reassembly is easy. Write the current specification down before shopping, because memory is generous about old hardware.
If performance still disappoints, look at the settings before the hardware. Resolution, anti-aliasing, and shadow quality usually cost more frames than any single component can recover. Test a lower setting for one session and note the difference, then decide whether the upgrade is still justified. Keep the receipts and the boxes until the new part has run for a week without problems. If a new part causes instability, restore the old one and test again, because a faulty component can look like a settings problem.
Review the setup every few months and remove unused cables. A short cable is easier to manage than a long one looped several times. The goal is a desk that is easy to clean and easy to troubleshoot. If you want the wider picture, read A Budget Gaming PC Build That Stays Useful before you decide.
For the underlying guidance, see the PC Gamer hardware guides.
GL / FAQ
Frequently Asked Questions
How do I hide cables under a desk?
Use a cable tray, route along the frame, and mount the power strip underneath.
Are zip ties bad for cables?
They can crush cables if overtightened. Velcro straps are safer and easier to adjust.
Does cable management affect performance?
Not directly, but it improves airflow and makes troubleshooting much faster.
How often should I redo the cables?
When you change a component, plus a quick review every few months.